A common inexpensive modification for 2007+ Defender is a passenger side glove compartment. There are several different versions available for sale and some manufacture their own.
Having read good reviews about the offering from
Mobile Storage Systems, I decided to purchase one.
After removing the dash top, the first job was to remove the plastic support features on the dash. This was done by scoring lines up each side and working the plastic front side to side until it fractured.
The expanded polystyrene block was then removed by working the small metal retaining clip off.
Next the locating feature at the back of the dash top was cut down the the same level as the rest of the moulding.
The hinge assembly was then fitted and secured using the retaining clips
...and the excess plastic was trimmed.
The dash top is shown here, fitted with the supplied bolts to attach the hinge assembly.
Having test fitted the kit, there were a few things I was not happy with:
- The dash top (now the glove box lid) does not sit neatly. This appears to be common on all variants from the photos I've seen on the web.
- The shiny bolts used to secure the lid to the hinge draw the eye and look out of place.
- The screw heads used to secure the base/front of the glove box are bright and draw attention.
On examining the hinge and lid, it was obvious that the lid was being held up off the dash creating an noticeable gap. To help reduce this I modified both the hinge assemble and the lid.
The back of the lid was pared and the honeycomb support structure was removed to allow the hinge assemble to be recessed into the lid.
The recessed screw holes on the lid were sitting high and removing enough material to reduce the height meant they had to be mostly removed.
To replace the plastic material that had been removed, a couple of washers were shaped to fit the tapered recess in the lid
One of the modified washers is show here in position. These were subsequently painted black and glued into position. The tapered feature meant the washers could offer mechanical support for the screws while the material below was removed to reduce the height.
The outward facing screws used to locate the lower part of the glove box were removed and replaced with black pop rivets to achieve a more subtle appearance.
This picture shows the difference between the nut/bolt and the pop rivet inside the compartment.
To attach the lid to the hinge assembly I wanted to reuse the existing torx screws to try to maintain some of the OEM look. To achieve this, the small blue clip-in pieces were removed from the dash and the clip part was removed using a hacksaw.
Similarly the excess thread on the torx screws was removed.
The resulting parts can be seen here:
The parts are shown here on the assembled lid. To further reduce the height of the hinge, the lower metal bracket was removed and 5 holes were drilled along the piano hinge. The green tape on the hinge is double sided sticky tape, used a a temporary measure to locate the lid in the correct position.
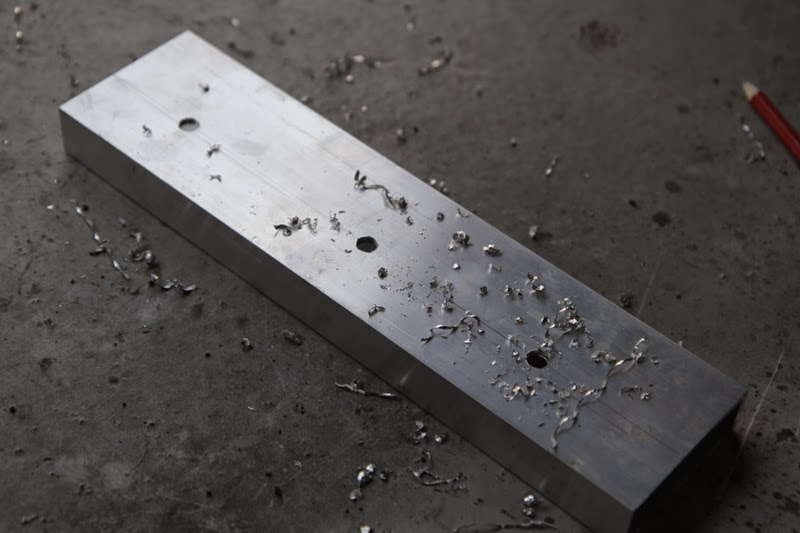
In order to accommodate the torx screws and plastic nuts, the existing holes were increase in diameter to 13mm. The surrounding material was also removed to prevent fouling with the upper part of the hinge assembly.
The same black pop rivets used to secure the lower section were used to attach the hinge to the dash.
The plastic nut is shown here entering the enlarged hole as the lid closes.
Pictures of the finished product are shown here:


