I purchased a 12V power supply socket from ebay to fit to the rear of the vehicle. This is a very common modification that utilises the power feed at the rear most 2.4 tdci Defenders have for auxillary trailer power. The description of the ebay item was "12V 20A Fused Motorcycle Waterproof Cigar Cigarette Lighter Power Supply Socket".

The plug is located behind the rear speaker on the drivers side of right hand drive vehicles (A tip when removing the trim piece: remove the stop/tail light to make things easier). It is a 2 way T-connector with a black wire and a purple wire. It can be seen below in the state it left the factory, taped to the loom:


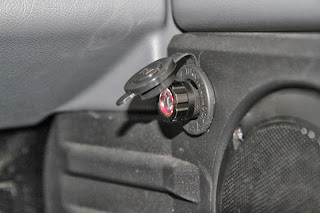
 The socket was then mounted in the hole and attached with the supplied clamping ring.


The plug is located behind the rear speaker on the drivers side of right hand drive vehicles (A tip when removing the trim piece: remove the stop/tail light to make things easier). It is a 2 way T-connector with a black wire and a purple wire. It can be seen below in the state it left the factory, taped to the loom:

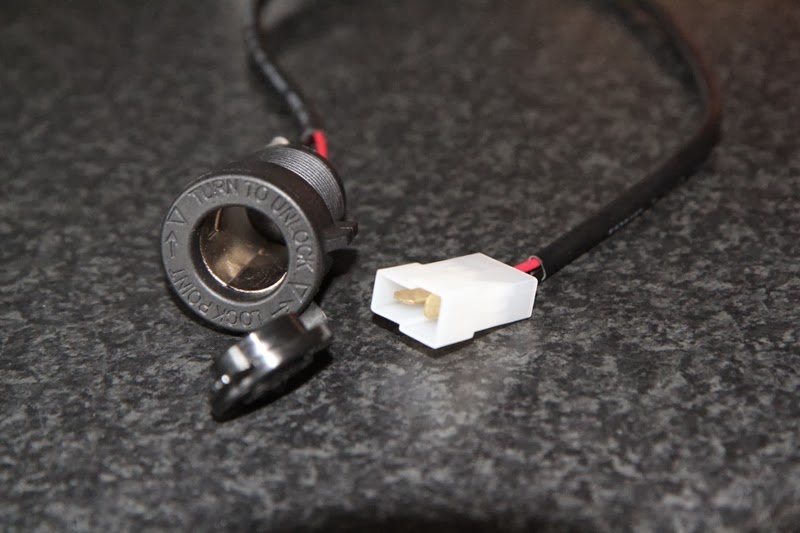
To maintain a factory look, I sourced a matching connector from polevolt.co.uk . The required connector could not be bought as a single item, so the cheapest way to get the connector was to buy a kit with both male and female connectors. The part number for the kit is MC2TKIT.
The connector and fuse carrier on the power socket were cut off and the 6.3mm spade fittings were crimped on to the wires (the fuse was surplus to requirements since there is already a 20A fuse under the drivers seat (Fuse 2):

The spade fittings were then clicked in to the connector housing to complete the assembly:
The next part of the job was mounting the socket in the trim panel; to do this, a cone cutter was used to make a hole with a 29mm diameter.


The 2 way T-connector was plugged into the factory loom and the trim and speaker were fixed back into position:

The picure below shows the finished product:

And finally a close up of the socket with a rechargeable torch in situ:


