There are some good video tutorials covering this job and I would particularly recommend watching Land Rover Front Axle Overhaul Tutorials on the Land Rover Toolbox YouTube channel if you are planning to do this job.
As the job requires the hubs to be completely stripped down, the various other seals and gaskets were bought along with new axle oil and swivel ball grease.
To get to the seal, the hub was stripped down starting with the circlip on the end of the driveshaft
Befor getting to deep into the job, the ABS sensor was removed to ensure that it did not get damaged.
The steering arms were disconnected. The Land Rover Toolbox channel has a great tip for this job - shown in this video
The brake caliper was removed and secured to the radius arm using a cable tie. During disassembly of the first side, the brake dust guard was removed. However this is not neccessary and the job can be done without removing it.
After removing the drive member, the hub nut was removed using a 52mm socket.
The hub was pulled off the stub axle.
Removing the stub axle allowed the drive shaft to be withdrawn.
A painted garage floor makes a great alternative to a white board for organising all the bits as they come off
The swivel ball was removed using a very long 14mm ring spanner. The threadlock makes the bolts tight all the way.(Having done this job I've bought a set of extra long ratchet spanners that should make the job easier in future).
The old seal was removed but looked to be in very good condition, the swivel ball was cleaned up and a new seal fitted.
A new swivel ball gasket was fitted before reassembly
The bolts for the swivel ball had high strength threadlock applied and were tighten by feel because the torque wrench cannot reach the bolt heads
After reassembling the swivel ball housing, the to bearing was shimmed until the force required to move the hubs was between 1.1 to 1.4kg.
After reshimming, the swivel ball seal and seal retainer were fitted with the 8mm bolts being torqued to 11Nm.
The halfshaft was refitted...
....followed by the stub axle. The stub axle bolts had high strength thread lock applied before being tightened to a torque of 65Nm.
At this point the swivel ball was filled with the one shot grease.
Before refitting the wheel hub, the old seal was removed and replaced. The wheel bearings were also greased:
The wheel hub assembly was refitted and the new hub nut was tightened to a torque of 130Nm
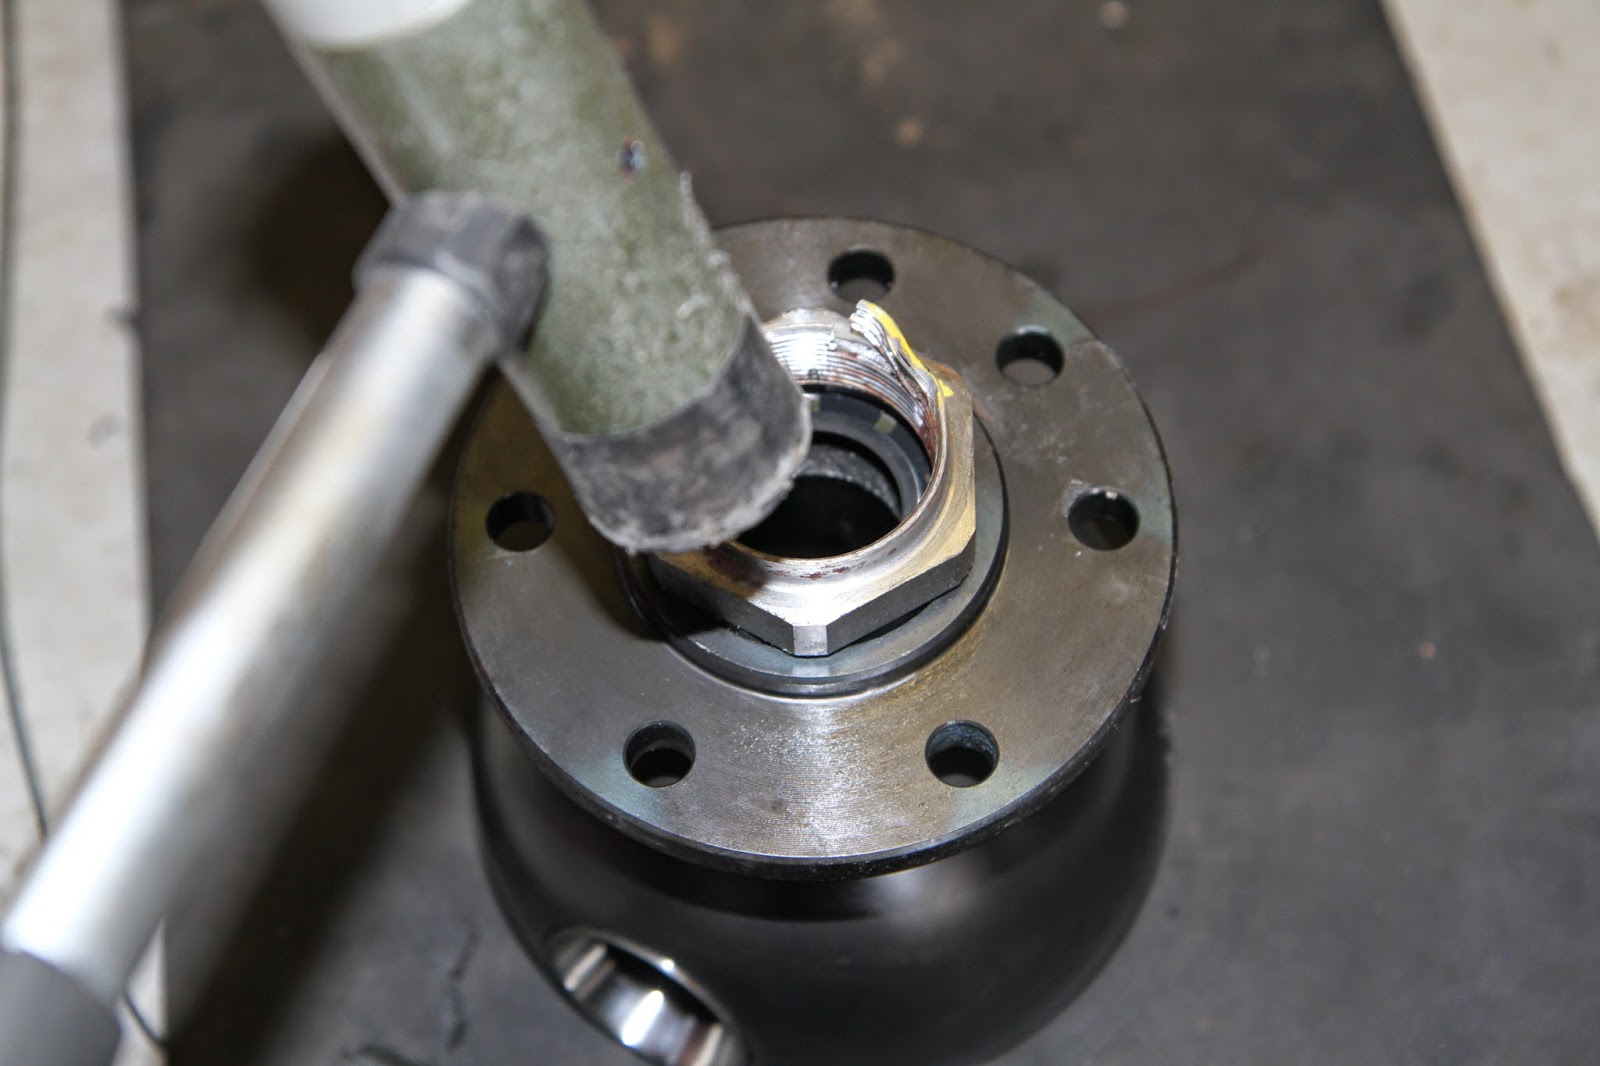
The hub nut was deformed around the flat on the stub axle using a flat cold chisel .
A fresh gasket was applied to the drive member
TIP: For all the threadlocked bolt, use a die to cut the old threadlock out of the threads.
The drive member bolts were applied with the high strength thread lock and tightened to 65Nm
The steering arm ends were torqued up to 40Nm and new split pins were fitted.The brake caliper was refitted...
...followed by the road wheel.


No comments:
Post a Comment